Unix: Network Statistics (netstat)

Network Statistics (netstat)

netstat displays the contents of various network-related data structures in depending on the options selected.

Syntax

netstat
multiple options can be given at one time.

Options
-a – displays the state of all sockets.
-r – shows the system routing tables
-i – gives statistics on a per-interface basis.
-m – displays information from the network memory buffers. On Solaris, this shows statistics for STREAMS
-p [proto] – retrieves statistics for the specified protocol
-s – shows per-protocol statistics. (some implementations allow -ss to remove fileds with a value of 0 (zero) from the display.)
-D – display the status of DHCP configured interfaces.
-n do not lookup hostnames, display only IP addresses.
-d (with -i) displays dropped packets per interface.
-I [interface] retrieve information about only the specified interface.
-v be verbose

interval – number for continuous display of statictics.

Example

$netstat -rn

Routing Table: IPv4
Destination Gateway Flags Ref Use Interface
——————– ——————– —– —– —— ———
192.168.1.0 192.168.1.11 U 1 1444 le0
224.0.0.0 192.168.1.11 U 1 0 le0
default 192.168.1.1 UG 1 68276
127.0.0.1 127.0.0.1 UH 1 10497 lo0
This shows the output on a Solaris machine who’s IP address is 192.168.1.11 with a default router at 192.168.1.1

Results and Solutions

A.) Network availability
The command as above is mostly useful in troubleshooting network accessibility issues . When outside network is not accessible from a machine check the following

1. if the default router ip address is correct
2. you can ping it from your machine.
3. If router address is incorrect it can be changed with route add command. See man route for more information.

route command examples
$route add default
$route add 192.0.2.32

If the router address is correct but still you can’t ping it there may be some network cable /hub/switch problem and you have to try and eliminate the faulty component .

B.) Network Response
$ netstat -i

Name Mtu Net/Dest Address Ipkts Ierrs Opkts Oerrs Collis Queue
lo0 8232 loopback localhost 77814 0 77814 0 0 0
hme0 1500 server1 server1 10658 3 48325 0 279257 0
This option is used to diagnose the network problems when the connectivity is there but it is slow in response .

Values to look at:

* Collisions (Collis)
* Output packets (Opkts)
* Input errors (Ierrs)
* Input packets (Ipkts)

The above values will give information to workout

i. Network collision rate as follows :

Network collision rate = Output collision counts / Output packets

Network-wide collision rate greater than 10 percent will indicate

* Overloaded network,
* Poorly configured network,
* Hardware problems.

ii. Input packet error rate as follows :

Input Packet Error Rate = Ierrs / Ipkts.

If the input error rate is high (over 0.25 percent), the host is dropping packets. Hub/switch cables etc needs to be checked for potential problems.

C. Network socket & TCP Connection state

Netstat gives important information about network socket and tcp state . This is very useful in
finding out the open , closed and waiting network tcp connection .

Network states returned by netstat are following

CLOSED —- Closed. The socket is not being used.
LISTEN —- Listening for incoming connections.
SYN_SENT —- Actively trying to establish connection.
SYN_RECEIVED —- Initial synchronization of the connection under way.
ESTABLISHED —- Connection has been established.
CLOSE_WAIT —- Remote shut down; waiting for the socket to close.
FIN_WAIT_1 —- Socket closed; shutting down connection.
CLOSING —- Closed,
then remote shutdown; awaiting acknowledgement.
LAST_ACK —- Remote shut down, then closed ;awaiting acknowledgement.
FIN_WAIT_2 —- Socket closed; waiting for shutdown from remote.
TIME_WAIT —- Wait after close for remote shutdown retransmission..
Example
#netstat -a

Local Address Remote Address Swind Send-Q Rwind Recv-Q State
*.* *.* 0 0 24576 0 IDLE
*.22 *.* 0 0 24576 0 LISTEN
*.* *.* 0 0 24576 0 IDLE
*.32771 *.* 0 0 24576 0 LISTEN
*.4045 *.* 0 0 24576 0 LISTEN
*.25 *.* 0 0 24576 0 LISTEN
*.5987 *.* 0 0 24576 0 LISTEN
*.898 *.* 0 0 24576 0 LISTEN
*.32772 *.* 0 0 24576 0 LISTEN
*.32775 *.* 0 0 24576 0 LISTEN
*.32776 *.* 0 0 24576 0 LISTEN
*.* *.* 0 0 24576 0 IDLE
192.168.1.184.22 192.168.1.186.50457 41992 0 24616 0 ESTABLISHED
192.168.1.184.22 192.168.1.186.56806 38912 0 24616 0 ESTABLISHED
192.168.1.184.22 192.168.1.183.58672 18048 0 24616 0 ESTABLISHED
if you see a lots of connections in FIN_WAIT state tcp/ip parameters have to be tuned because the
connections are not being closed and they gets accumulating . After some time system may run out of
resource . TCP parameter can be tuned to define a time out so that connections can be released and used by new connection.

How to install Docker on AWS EC2 machine

Docker is a very useful tool when it comes to create your applications, deploy and run them by using containers. In SDLC its utilization comes in the Deployment stage. Please follow the steps below to install and use Docker on your AWS EC2 machine.

  1. Launch an EC2 instance in your AWS account. Please remember the region you are launching the instance as the services of the tool installed will be available in this region only.

2. Connect to the SSH client where we can run the commands to configure Docker and use it.

Please follow the below steps to install docker on your AWS AMI machine.

3. Update the installed packages and package cache on your ec2 instance by running below command.

sudo yum update -y

4. Then to Install the latest Docker Community Edition package. Execute below command in your AWS Linux instance.

sudo amazon-linux-extras install docker or sudo yum install docker

5. To start the docker services execute the command below in your AWS Linux instance.

sudo service docker start

6. If you want to use the docker commands without using Sudo then Add the ec2-user to the docker group. Execute below command.

sudo usermod -a -G docker ec2-user

7. Now as docker is installed to use the Docker services, please once disconnect from your SSH client and connect again, to activate all the required Docker permissions.

8. To Verify If we can run the docker command without use of Sudo keyword, run the below command.


docker info

Now the Docker tool is ready to create Images and Containers. For more information on how to create Images and containers in Docker please refer our article “To create images and containers using Docker on AWS”.

AWS Email Set up

Email configuration is an important service for a website. But it will be easy if you are hosting your website on AWS and following below steps to set up your email address.

  1. Go to “Workmail” Service.

2. Click on add organization.

3. Click on Quick setup on next page.

4. Give the domain name in organization.

5. You can see it as below after the organization is created. It can take few min to be active.

Here click on name under “Alias”

6. Click on Domain in Left side pane as below.

7. Click on Add domain.

8. Give your registered domain name and click add domain.

9.You can see the next screen as below, click on the domain name you have added. To verify the domain name, follow next 3 steps. It can take few min in the verification of the domain name after completion of the next 3 steps.

10. To Verify the domain name, From below screen under Domain ownership, copy the Record Type, Hostname without the domain name we added and the value. and use them in screen of Route 53 in step 14.

11. Open Route 53 service.

12. Click on Hosted Zones under DNS Management.

13. Click on domain name.

14. Click on Create record set and give values copied in step 10 to the next screen. Then click on Create button.

15. After the Domain name is verified or during the process we can add the records under mail set up on screen in step 10, same as step 14.

16. After all the record types in Work mail screen, go to user in work mail screen.

17. Click on Create User.

18. Give the required details as below and click on Next.

19. Give Password on next screen and click add user.

20. Next screen will be like this. Go to Organization settings.

21. Click on Link ahead of web application.

22. Give Username and Password on next screen as below and click sign in.

23. Now you can send or receive the messages using this email address created.

Thank you for the reading. Please ask your questions in comment section.

AWS commands in a nutshell

AWS CLI is an common CLI tool for managing the AWS resources. With this single tool we can manage all the aws resources.

sudo apt-get install -y python-dev python-pip 
sudo pip install awscli
aws --version
aws configure

Bash one-liners

cat # output a file
tee # split output into a file
cut -f 2 # print the 2nd column, per line
sed -n ‘5{p;q}’ # print the 5th line in a file
sed 1d # print all lines, except the first
tail -n +2 # print all lines, starting on the 2nd
head -n 5 # print the first 5 lines
tail -n 5 # print the last 5 lines

expand # convert tabs to 4 spaces
unexpand -a # convert 4 spaces to tabs
wc # word count
tr ‘ ‘ \t # translate / convert characters to other characters

sort # sort data
uniq # show only unique entries
paste # combine rows of text, by line
join # combine rows of text, by initial column value

Cloudtrail – Logging and Auditing

list all trails
aws cloudtrail describe-trails
list all S3 buckets
aws s3 ls
create a new trail
aws cloudtrail create-subscription \
--name awslog \
--s3-new-bucket awslog2016
list the names of all trails
aws cloudtrail describe-trails --output text | cut -f 8
get the status of a trail
aws cloudtrail get-trail-status \
--name awslog
delete a trail
aws cloudtrail delete-trail \
--name awslog
delete the S3 bucket of a trail
aws s3 rb s3://awslog2016 --force
add tags to a trail, up to 10 tags
aws cloudtrail add-tags \
--resource-id awslog \
--tags-list "Key=log-type,Value=all"
list the tags of a trail
aws cloudtrail list-tags \
--resource-id-list
remove a tag from a trail
aws cloudtrail remove-tags \
--resource-id awslog \
--tags-list "Key=log-type,Value=all"

Amazon Simple Email Service (SES)

In this article we will see how to use the SES.

Once logged in aws console click the ‘Simple Email Service’ under the ‘Customer Engagement’. You will see below option.

Simple Email Service‘ under the ‘Customer Engagement’.
Using any of the above options you can perform as relevant task.
There are multiple options under the ‘SES’ home (left side panel).
Under ‘SMTP Settings’ click the highlighted button ‘Create My SMTP Credentials’

Clock ‘Create’
Once you will Create Record Sets an email will be sent
Once you click on ‘Use Route 53’ (background page below ‘Create Record Sets).

Create Receipt Rule

Click ‘Go to rule set creation’ (below last icon).
Create a Receipt Rule.
Click ‘Add Recipient.
Note: Once clicked you will see the receipt add and ‘Verification Status’ and option to remove.

AWS S3(Simple Storage Service and buckets

S3 (Simple Storage Service)

How to access the S3?

Go to “Services” ==> S3, please see the below screenshot for more details.

Click the cross top left and you will be able to see the options:

This image has an empty alt attribute; its file name is image-15-1024x423.png
Bucket options: Create, Delete, Empty and edit public access etc.
Click ‘Edit’ on top right and you will see the options with check boxes, next scren
You can manage ‘Public Access List (ACLs) and ‘Public Bucket Policies’ for account.
  1. S3 has a simple web services interface that you can use to store and retrieve any amount of data, at any time, from anywhere on the web. 
  2. It gives any developer access to the highly scalable, reliable, fast, inexpensive data storage infrastructure.
  3. S3 Intelligent-Tiering:  You no longer need to think about which storage class to store data in to optimize storage costs. The S3 Intelligent-Tiering storage class automatically moves your data to the most cost-effective storage access tier. No more custom policies or code needed. It is the ideal storage class for data with unknown or changing access patterns.
  4. S3 Block public access: You can prevent public access to any bucket or object with just a few clicks on the S3 console.Use S3 Block public access to prevent public access to your existing and new buckets and objects. You can block public access at the account level and at the bucket level. Block public access settings are easy to audit. You can also configure them using the AWS CLI, AWS SDKs, the S3 REST APIs, and from within AWS CloudFormation templates.
  5. S3 Batch operations: Now you can apply a change, like replacing an access control list (ACL), to millions (and billions) of objects without writing a custom application. Use S3 Batch operations to specify a group of objects (a bucket or specific objects defined in a custom manifest or an S3 inventory report) and an action to take on those objects. The actions include replace object ACL, initiate a restore from S3 Glacier, copy objects, and more.
  6. S3 Glacier is a really low cost storage service that provide secure, durable and flexible storage for backup and archival data.

How S3 batch operation works?

S3 Glacier

S3 Glacier is a really low cost storage service that provide secure, durable and flexible storage for backup and archival data.

You can create ‘Vault’ and set retrieval policies and event notifications.

Amazon EBS

  1. Elastic Block Store (EBS) provides persistent block storage volumes for use with EC2 instances in the AWS Cloud.
  2. Each EBS volume is automatically replicated within its Availability Zone to protect you from component failure, offering high availability and durability. 
  3. EBS volumes offer the consistent and low-latency performance needed to run your workloads.
  4. With Amazon EBS, you can scale your usage up or down within minutes.
  5. EBS volumes are particularly well-suited for use as the primary storage for file systems, databases, or for any applications that require fine granular updates and access to raw, unformatted, block-level storage.
  6. EBS is well suited to both a. database-style applications that rely on random reads and writes. b. applications that perform long, continuous reads and writes.

AWS Basic architecture


Note: Don’t confuse EC2 with S3.

Because S3 is a repository for Internet data which provides access to reliable, fast, and inexpensive data storage infrastructure. S3 is designed to make web-scale computing easy by enabling you to store and retrieve any amount of data, at any time, from within Amazon EC2  OR anywhere on the web.

EC2 Instance:(Elastic Compute Cloud)

  1. Elastic Compute Cloud EC2 instance is like a remote computer running Windows or Linux and on which you can install whatever software you want, including a Web server running PHP code and a database server.
  2. EC2 is an Infrastructure as a Service (IaaS) Cloud Computing Platform provided by Amazon Web Services, that allows users to instantiate various types of virtual machines.
  3. EC2 provides scalable computing capacity in the Amazon Web Services (AWS) cloud. Using Amazon EC2 eliminates your need to invest in hardware up front, so you can develop and deploy applications faster.
  4. EC2 FAQs
  5. More details about EC2

EBS: (Elastic Block Storage) (EBS store data using buckets)

  1. EBS stands for Elastic Block Storage, and is a service that provides dynamically allocatable, persistent, block storage volumes that can be attached to EC2 instances.
  2. Most system operations that can be performed with an HDD can be performed with an EBS volume. e.g. – formatted with a filesystem and mounted.
  3. EBS also provides additional SAN-like features such as taking snapshots of volumes, and detaching and reattaching volumes dynamically.
  4. One notable feature that SAN LUNs support that EBS volumes do not is muti-initiator. (IE: Only a single EC2instance can be associated with a given EBS volume at a given time, so shared storage clustering is currently not supported.).
  5. EBS FAQs
  6. More about EBS

S3 (Simple Storage Service)

  1. Amazon S3 has a simple web services interface that you can use to store and retrieve any amount of data, at any time, from anywhere on the web.
  2. It gives any developer access to the same highly scalable, reliable, fast, inexpensive data storage infrastructure that Amazon uses to run its own global network of web sites.
  3. How to use an S3 bucket? a. First creates a bucket in the AWS region of his or her choice and gives it a globally unique name. AWS recommends that customers choose regions geographically close to them to reduce latency and costs. b. Once the bucket has been created, the user then selects a tier for the data. c. Bucket name are unique across aws.
  4. An AWS customer can interact with an Amazon S3 bucket using any of 3 methods. a. AWS Management Console. b.AWS Command Line Interface. c. application programming interfaces (APIs).
  5. S3 FAQs
  6. Really good article about “What S3 is not”?
  7. More about S3 and buckets
  8. NOTES: There are three tiers of S3 Storage available: S3 Standard – Durable, immediately available suitable for frequently accessed data. By default, data stored in S3 is written across multiple devices in multiple locations providing resiliency. (SLA: 99.99% availability & 99.99999999999% durability). S3 IA (Infrequently Accessed) – This is the same service as S3 although available at a lower cost. S3 IA users pay a retrieval fee meaning it is only a cost effective storage option for data that isn’t frequently accessed. Reduced Redundancy Storage – A lower cost storage solution with reduced SLAs (SLA: 99.99% availability & durability). c. Then, the user can specify access privileges for the objects stored in a bucket, through mechanisms such as the AWS Identity and Access Management service, bucket policies and access control lists.

FAQs on Amazon Elastic Compute Cloud (EC2).

Q: What is EC2?

A: EC2 is an Infrastructure as a Service Cloud Computing Platform provided by Amazon Web Services, that allows users to instantiate various types of virtual machines.

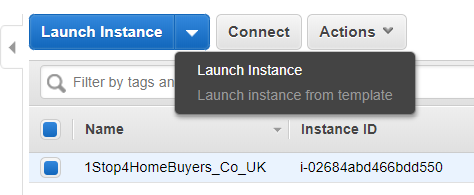
Q: What is an instance?

A: An EC2 instance is a Virtual Machine running on Amazon’s EC2 Cloud.

Q: What is an AMI?

A: An AMI (Amazon Machine Image) is a preconfigured bootable machine image, that allows one to instantiate an EC2 instance. (EC2 Virtual Machine)

Q: What is an AKI?

A: An AKI (Amazon Kernel Image) is a preconfigured bootable kernel miniimage, that are prebuild and provided by Amazon to boot instances. Typically one will use an AKI that contains pv-grub so that one can instantiate an instance from an AMI that contains it’s own Xen DomU kernel that is managed by the user.
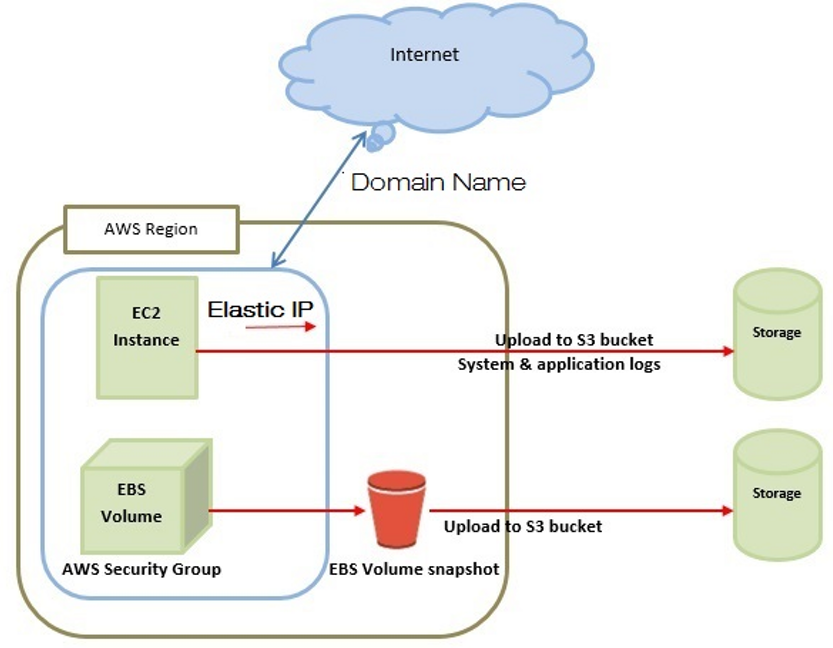
Q: What is EBS?

  1. EBS stands for Elastic Block Storage, and is a service that provides dynamically allocatable, persistent, block storage volumes that can be attached to EC2 instances.
  2. Most system operations that can be performed with an HDD can be performed with an EBS volume. e.g. – formatted with a filesystem and mounted.
  3. EBS also provides additional SAN-like features such as taking snapshots of volumes, and detaching and reattaching volumes dynamically.
  4. One notable feature that SAN LUNs support that EBS volumes do not is muti-initiator. (IE: Only a single EC2instance can be associated with a given EBS volume at a given time, so shared storage clustering is currently not supported.)

Q: What is the difference between an instance-store AMI/instance and an EBS AMI/instance?

Answer:

  1. An instance-store instance boots off of an AMI that instantiates a non-persistent root volume that loses all data on poweroff, or hardware failure.
  2. EBS instances boot off an AMI that consists of an EBS volume that persists after powering off (stopping) an instance or in the event of a hardware failure a given instance is running on. EBS root volumes can be snap-shotted and cloned, like other EBS volumes.

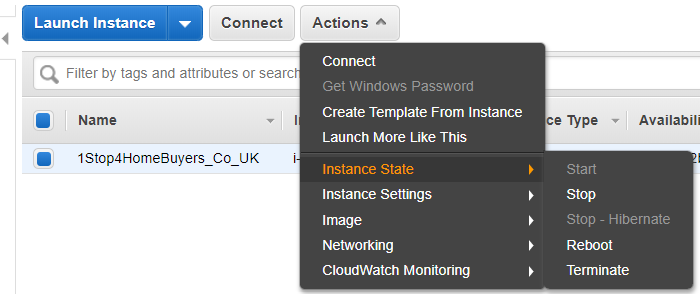
Q: What is the difference between terminating an instance and stopping an instance?

A: Please note this difference is only applicable to EBS-root instances.

  1. When one stops an instance it basically virtually powers off the instance but it remains in the inventory to be powered on (started) again.
  2. Terminating an instance removes its records from the system inventory and usually also deletes its root volume.

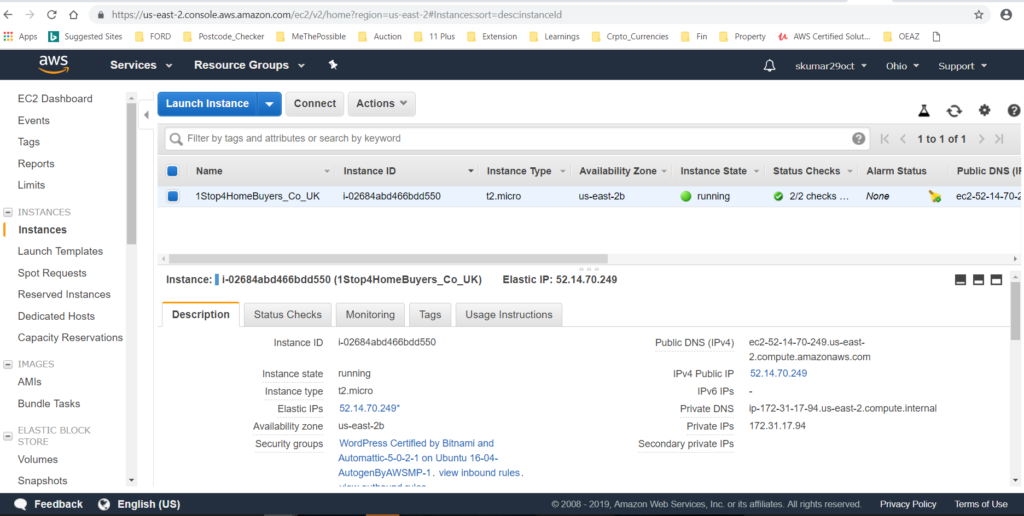
Q: How does IP addressing work in EC2?

A: Modern EC2 instances typically exist in a “VPC”, or Virtual Private Cloud network. A VPC is a network overlay environment allowing the user to specify various aspects of the network topology including CIDR ranges, subnets, routing tables, and ACLs. Instances are assigned one or more network interfaces in a VPC, each of which can have one or more IP addresses. Publicly routable IPv6 addresses are available. IPv4 addressing is handled using private RFC 1918 addresses and stateless 1:1 NAT for public internet access.

A legacy “classic” networking mode exists in which each instance is given a randomly assigned private IP address that maps via NAT to an also randomly assigned public IP address. Amazon is not provisioning this feature for new accounts. VPC instances allow more control of the private (and public) IP address mappings and assignment, and as such let one assign custom private IP ranges and addresses, in addition to having the option to not assign public IP address mappings.

Q: What is an Elastic IP Address (EIP)?

A: An Elastic IP address is a Public IP addressed that is assigned to an individual AWS account. These IPs are assigned by region. This address can be assigned to any EC2 instance within a region and will replace the regularly assigned random public IP address.

Q: What is an EC2 Region?

A: An EC2 Region refers to a geographic region that is a completely autonomous set of compute resources, with their own management infrastructure. Regions do not share any resources, so they are considered completely separate for disaster recovery purposes.

Q: What EC2 Regions are there?

A: The official list of regions grows with some regularity. In general, the latest Debian AMIs are available in all public regions. There is also the non-public GovCloud region, available only to US Government agencies. At present, Debian AMIs are not published in GovCloud, but users have requested them.

Q: What is an EC2 Availability Zone?

A: An availability zone is a separate “failure zone” within a given region that can have resources instantiated in. Each region has it’s own power grid, and physical set of hardware and resources. Availability zones within a given region have a shared management interface/infrastructure.

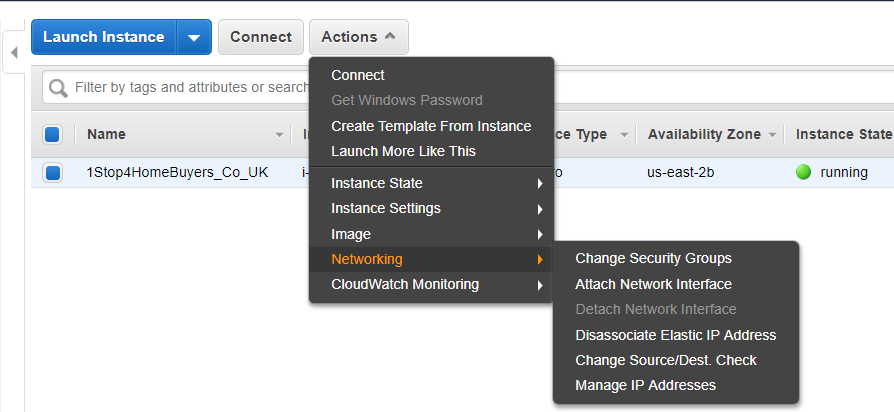
Q: What is an EC2 Security Group?

A: A Security Group (SG) is a management construct within EC2 that acts similarily to a network based firewall. An instance must be assigned one or more security groups at first instantiation. Security group membership may not change after initial instantiation. Security groups allow one to set incoming network rules allowing certain TCP/UDP/ICMP protocols ingress via rules based on incoming security group ID, network address or IP address. Security groups do not restrict outbound traffic, nor do they restrict traffic between instances within the same security group. (Assuming they are communicating via their private IP addresses.)

Q: What is instance metadata?

A: Instance metadata is descriptive information about a particular instance, that is available via an http call to a particular instance and that instance alone. e.g. – Public IP address, availability zone, etc. userdata is one of these pieces of data available.

Q: What is userdata?

A: When one instantiates an EC2 instances one may optionally pass 16 KB of data to the API that can be used by the instance. (Typically use cases are running scripts, and/or configuring the instance to meet a particular use case.)

Q: What is cloud-init?

A: Cloud-init is a framework written in Python for handling EC2 userdata to configure a newly instantiated EC2 instance. See upstream project for more details: https://help.ubuntu.com/community/CloudInit

Q: How do I log into a Debian EC2 instance for the first time?

A: When you instantiate an instance from an official Debian AMI, one needs to assign a previously uploaded/created ssh public key, which will be added to the “admin” user’s authorized_keys. One can then ssh in as “admin” and use sudo to add additional users.

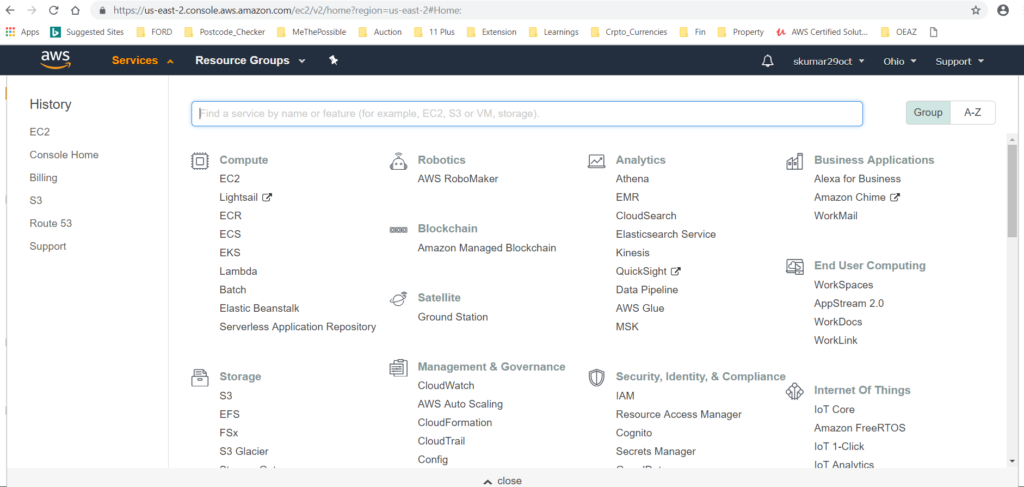
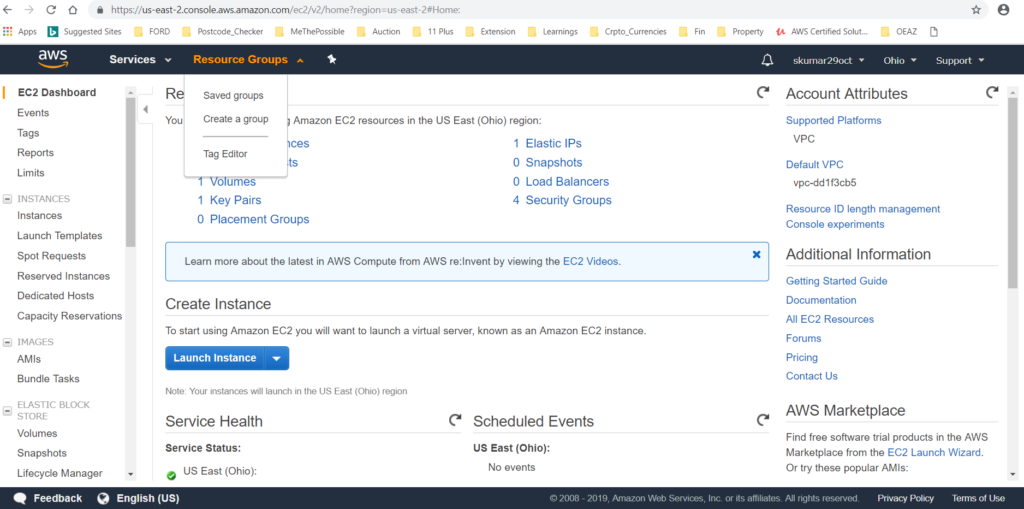
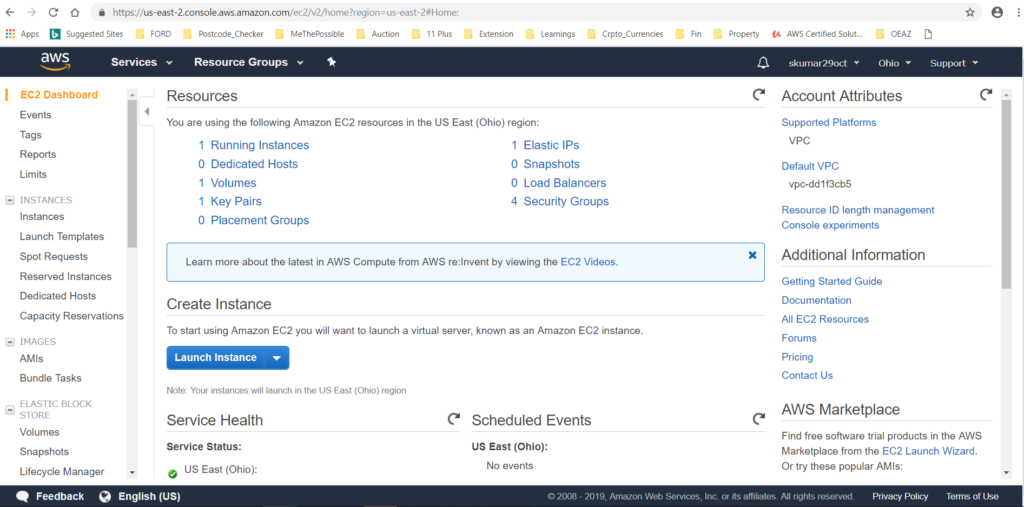
Q: What are the different methods supported to manage EC2?

A: Either via the AWS Web Console, via the API, or via CLI tools.

Q: How do I get to the AWS Web Console?

A: https://console.aws.amazon.com/

Q: Where is the EC2 API documented?

A: http://docs.amazonwebservices.com/AWSEC2/latest/APIReference/Welcome.html

Q: Where can I find the CLI tools to manage EC2?

A: The AWS Command Line Interface, available under the DFSG-compliant Apache 2 license, can be installed via apt install awscli on Jessie systems and above. Historical note: the original Amazon EC2 API Tools were not DFSG-compliant, but Debian (still) distributes alternate set of DFSG-compliant tools, that are designed to be fully compatible, called euca2ools.

Q: Where can I find the list of Official Debian AMIs?

A: The following page has a list of Official and unofficial Debian AMIs: Cloud/AmazonEC2Image. See also 694035 for work in progress on a machine-readable list.

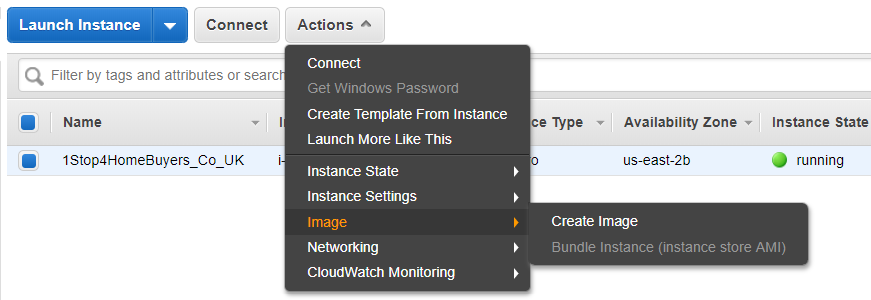
Q: How can I build my own AMI?

A: Stretch (and later) AMIs are created using the FAI tool using the debian-cloud-images configuration. An introduction into creating customized AMIs based on the FAI configuration can be found on Noah’s blog.

Packer is another popular tool for creating AMIs. It has the ability to integrate with existing configuration management systems such as chef and puppet, and be used to create images based on customizations performed on a running instance.

Anders Ingemann has created a build script for bootstrapping instances, and was used to create the official AMIs for jessie and earlier. The script can be automated as it needs no user interaction. Custom scripts can be attached to the process as well. You can download or clone the script from github. Any bugs or suggestions should be reported via the github issue tracker. The script is packaged and will be available for install starting with Debian Wheezy.

Also refer to Amazon’s documentation on this topic.

AWS EC2 at a glance

  1. Elastic Compute Cloud EC2 instance is like a remote computer running Windows or Linux and on which you can install whatever software you want, including a Web server running PHP code and a database server.
  2. EC2 is an Infrastructure as a Service (IaaS) Cloud Computing Platform provided by Amazon Web Services, that allows users to instantiate various types of virtual machines.
  3. EC2 provides scalable computing capacity in the Amazon Web Services (AWS) cloud. Using Amazon EC2 eliminates your need to invest in hardware up front, so you can develop and deploy applications faster.

Note: Don’t confuse EC2 with S3 because S3 is
is a repository for Internet data which provides access to reliable, fast, and inexpensive data storage infrastructure. S3 is designed to make web-scale computing easy by enabling you to store and retrieve any amount of data, at any time, from within Amazon EC2  OR anywhere on the web.

Login and click on ==> Resources

Login and click on ‘Resouce Groups’

Resources ==> EC2 (Under the Compute).

Services ==> EC2 ==> Running Instances

  1. You can launch new instance or connect by clicking the connect (next to ‘Launch Instance’).

2. Here are the different options under the ‘Actions’


Here you can check the ‘Description’, ‘Status Check’, ‘Monitoring’ ,’Tag’, and Usage Instructions’.

FAQs on Amazon Elastic Compute Cloud (EC2).