Jenkins installation steps

How to install Jenkins in linux.

  1. Make sure Java’s latest version is installed or install the one.
  2. Download the Jenkins (
  3. Install the jenkins ( sudo
  4. Start the Jenkins (
  5. Make sure port 8080 (default) is open:
  6. Extract the ip address allocated to server:
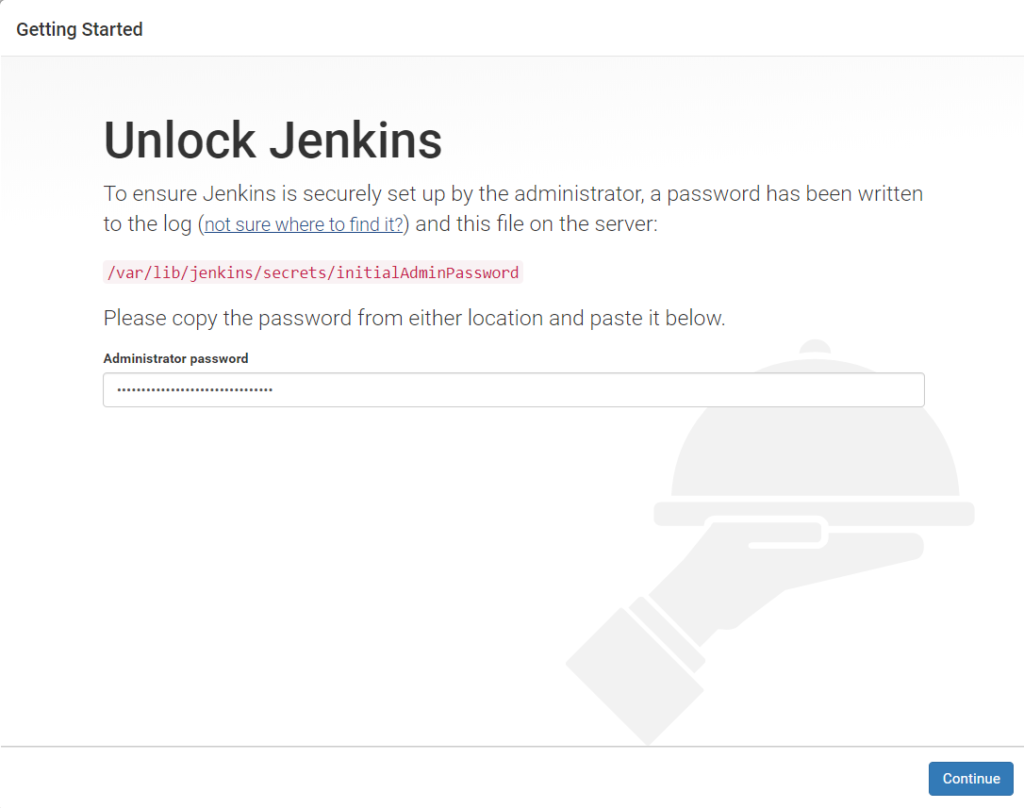
  7. Access the Jenkins in url: ip:8080
  8. Install the necessary plugins.

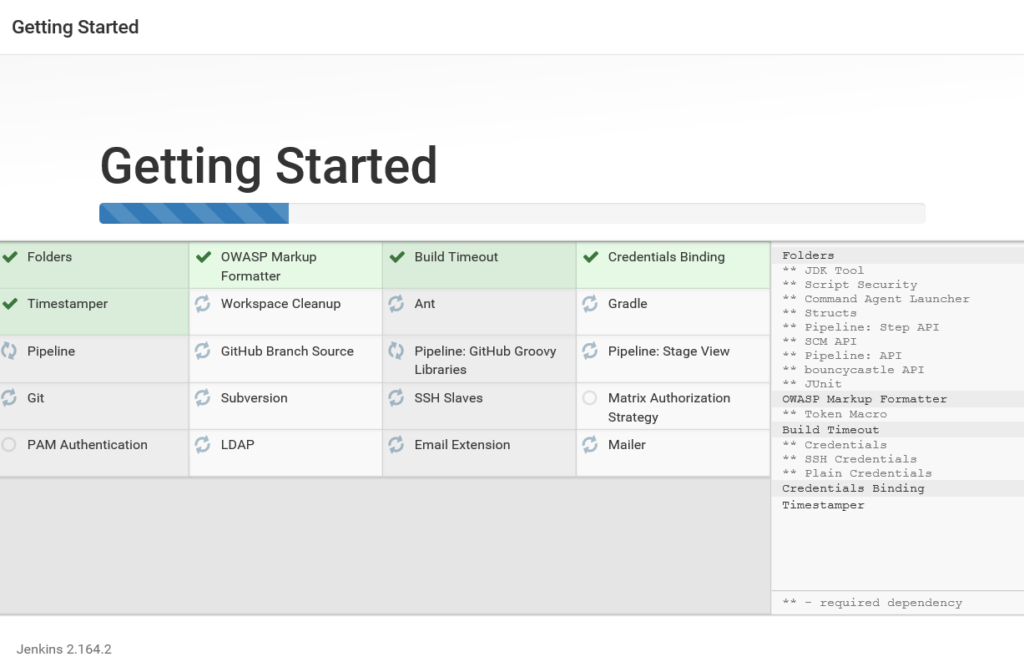
Install the necessary plugins
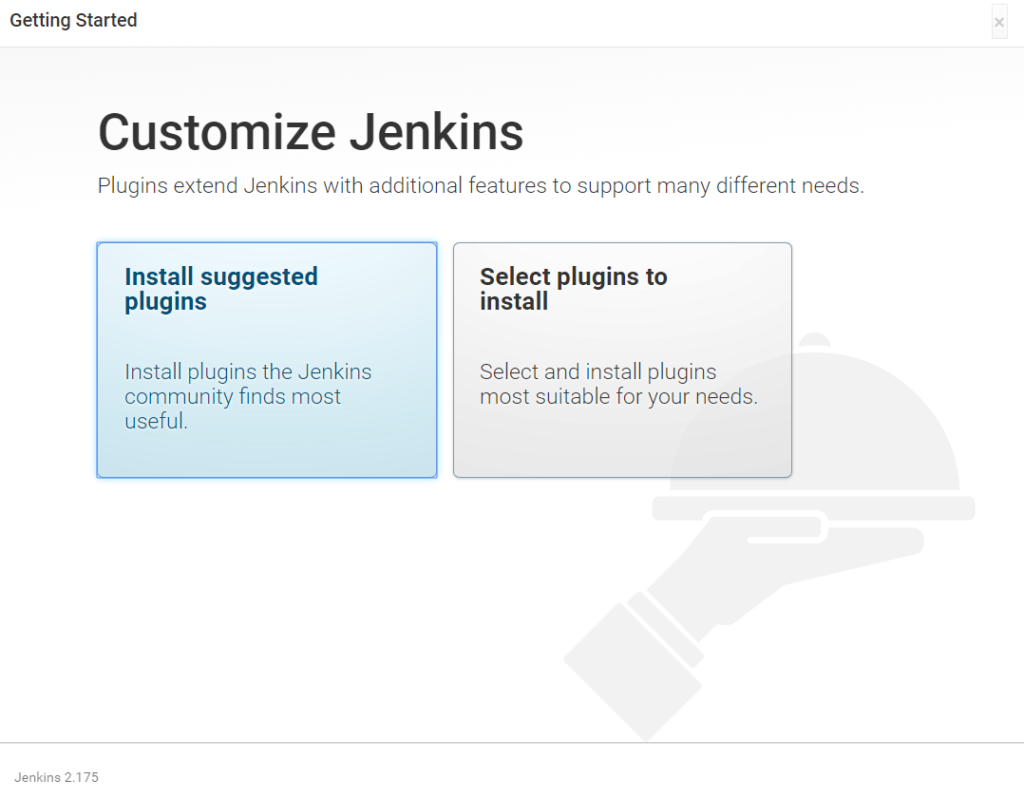
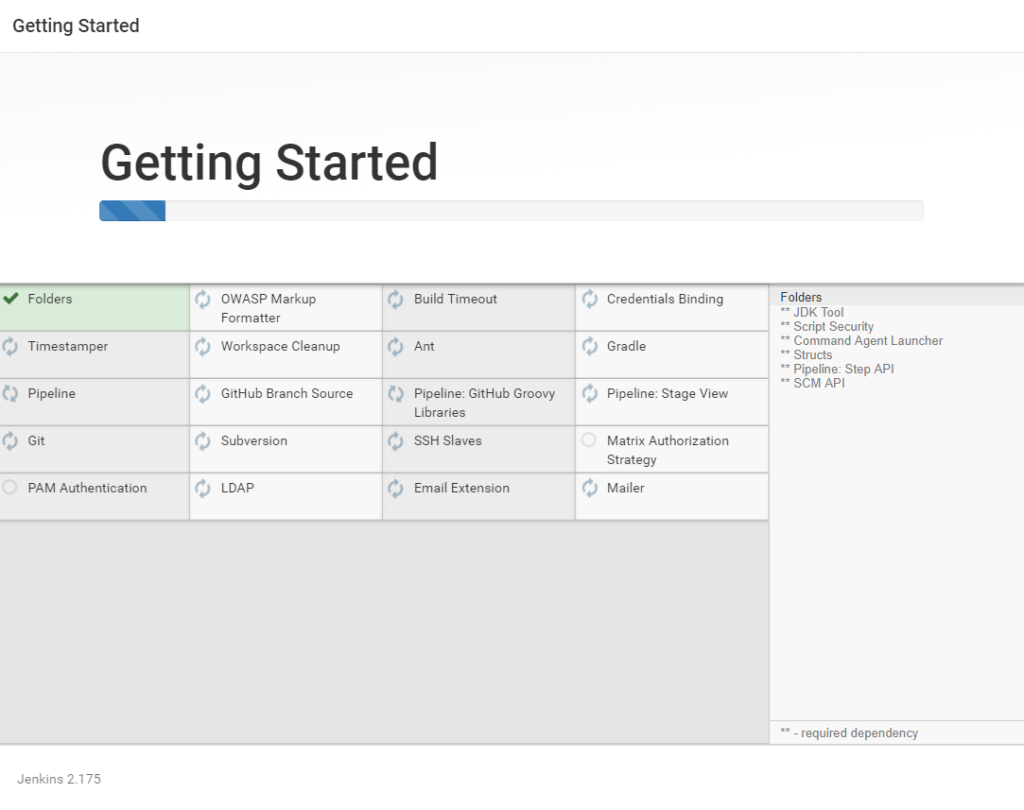
Plugin installation in progress.

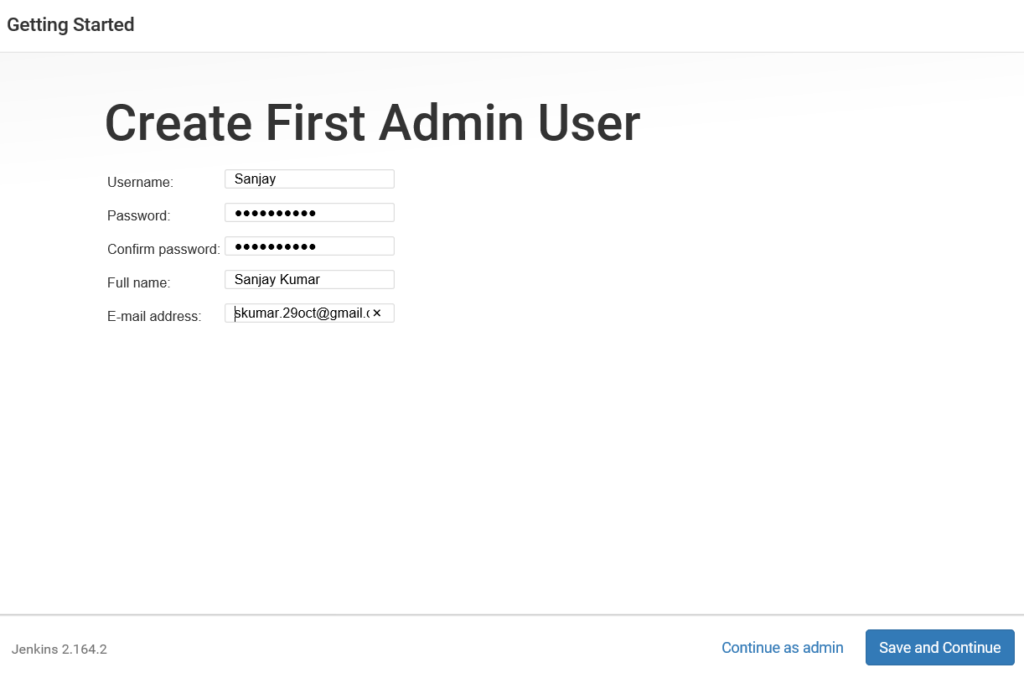
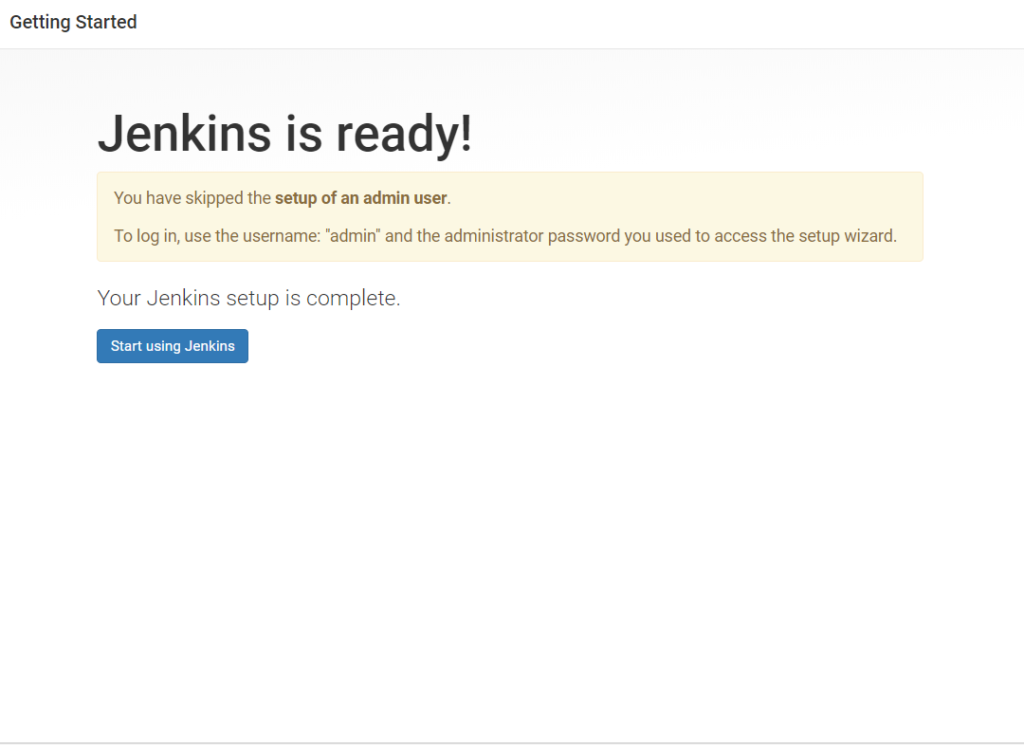
Once you will provide the admin/pwd and email etc. and click ‘Continue as admin’ Jenkins will be ready for use.
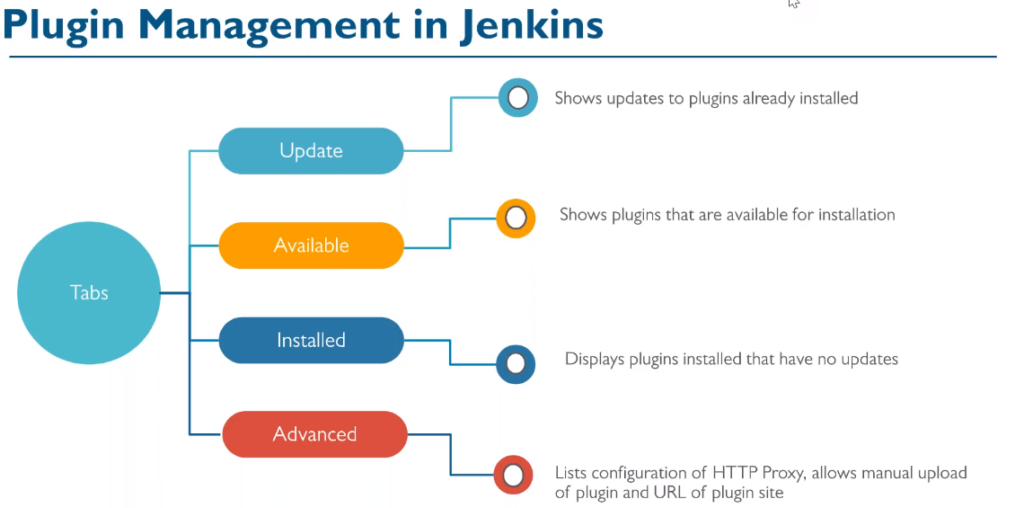
Jenkins plugins at a glance.
GIT Desktop Setup

Once you will click on the downloaded exe file

Sign in GitHub

And its ready to go!!

Choose or create the repository. There are 3 options to create the repository. as shown in previous screenshot.

Once you click the clone, you can see both “Repository URL” and “Local path”. Which means…..

Here is the cloning going on.

Note: There are 3 more options to create the repository. as shown in previous screenshot.

Once the repository is created, you will have to publish it.

As you click the ‘Publish repository’ you will see the below pop up. Note: Make sure the name is unique under the account.

Jenkins installation

Pre-requisite for Jenkins installation on Windows, you must have java 8 or later.

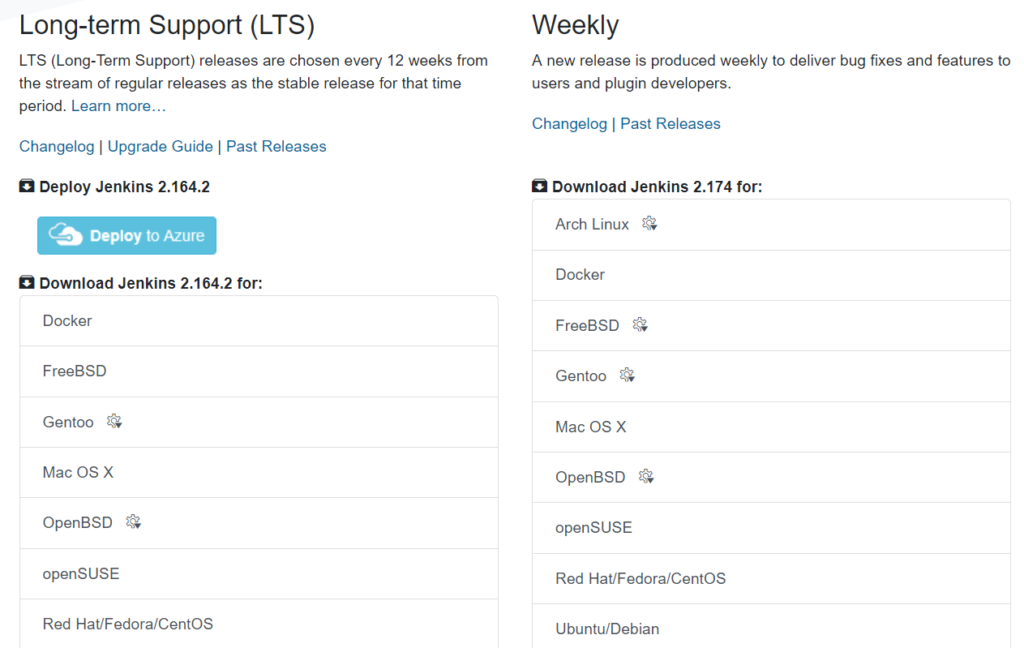
In order to install the Jenkins on windows go to URL
https://jenkins.io and click download. Now select ‘windows’ under the which one LTS or Weekly you want.

Click the downloaded zip file and it will launch the installation GUI.

Keep on clicking the next… and


Now choose the option you want. I would go for suggested plugins.

Once installation will be done you need to set up the admin details.

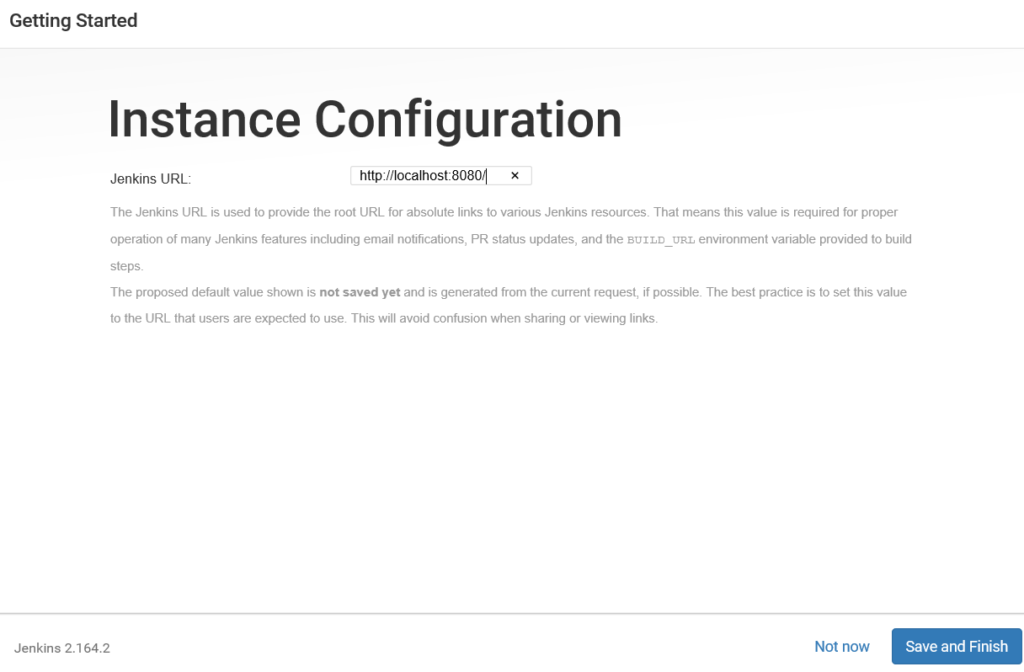
Make by default port is 8080 for Jenkins in windows, click save and finish.

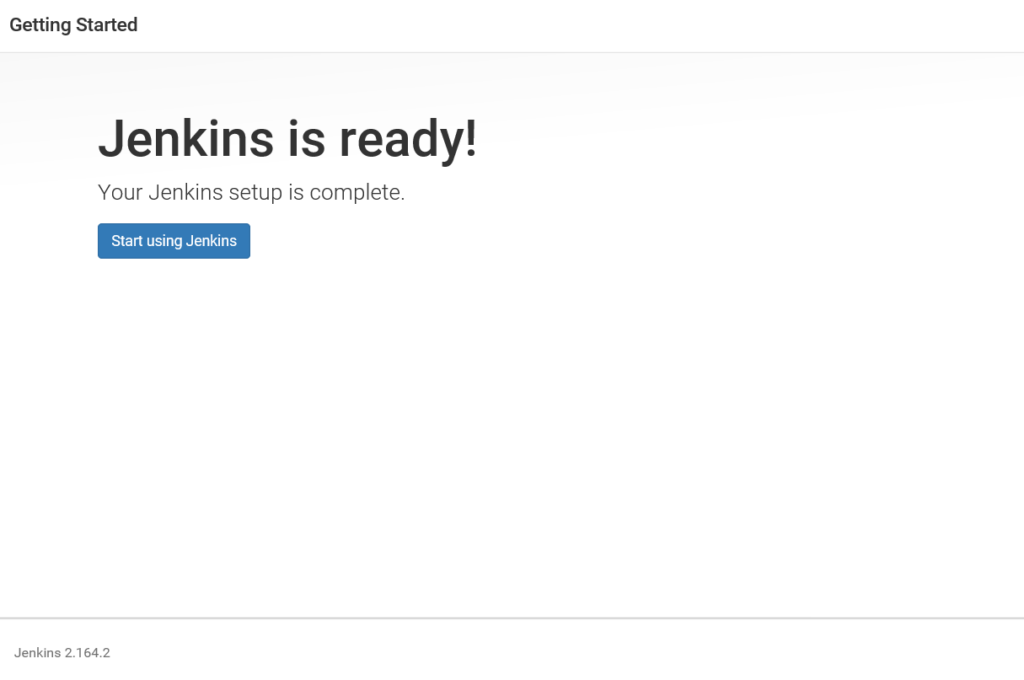
Here is your Jenkins ready for using

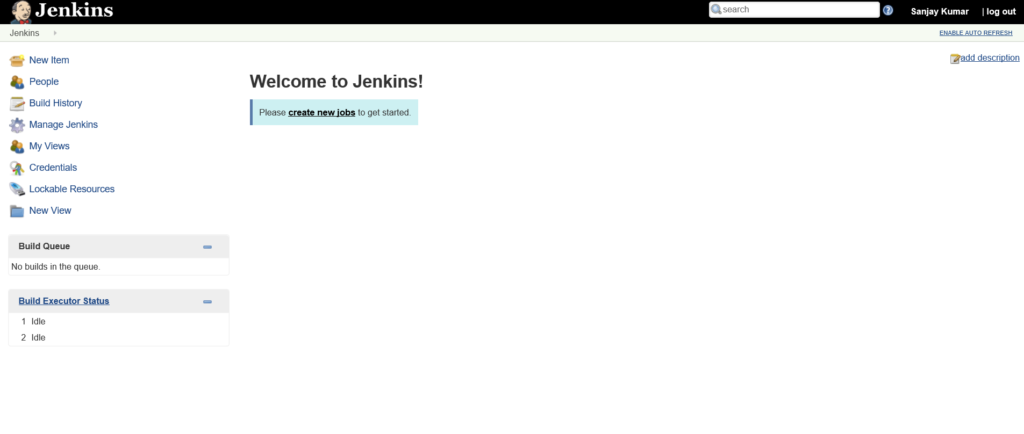
Here is the first screen once you login into Jenkins. Did you notice the Enable auto refresh button on the right side?